How to configure a network printer in Windows 11
A practical guide to setting up and using a network printer in Windows 11, covering automatic detection, manual IP setup, and sharing across devices.
خلاصه تخصصی مقاله
A practical guide to setting up and using a network printer in Windows 11, covering automatic detection, manual IP setup, and sharing across devices.
موضوعات اصلی: پشتیبانی شبکه، printer، Network، Windows، devices، Settings
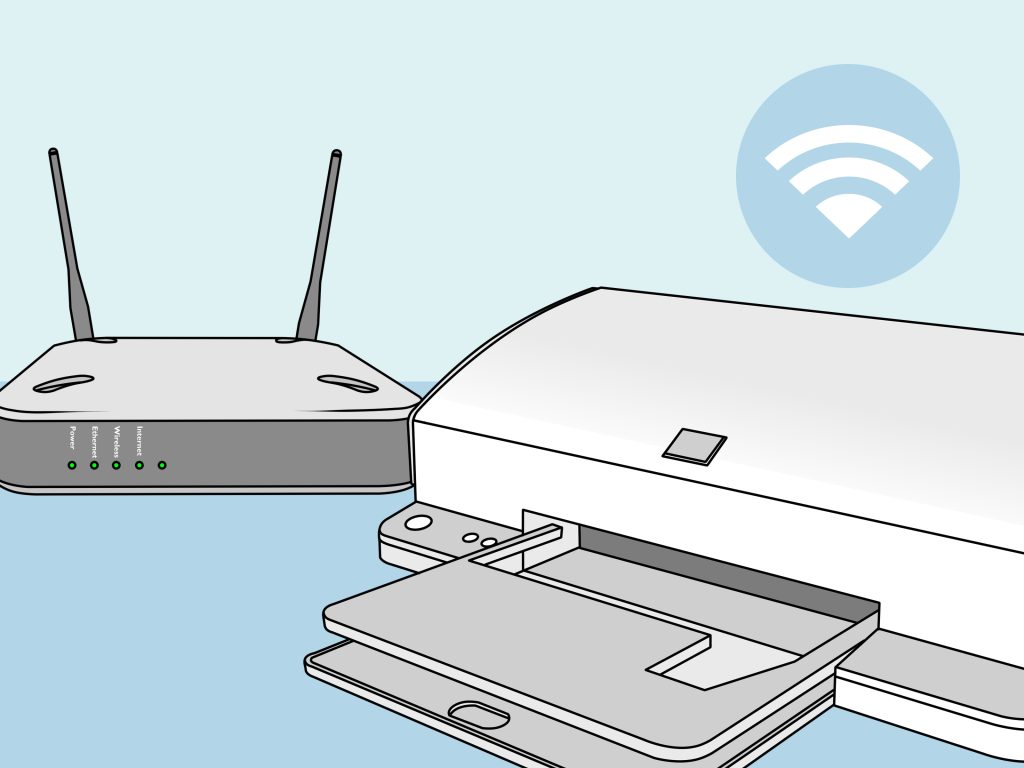
Network printers allow printing from multiple devices directly or via a shared server. Windows 11 offers management features that simplify working with network printers. This guide explains, step by step, how to configure and use a network printer in Windows 11.
What is a network printer?
A network printer is connected to the network directly or via a print server and enables printing from several devices. It provides convenient access from laptops, desktops, and mobile devices. Using a network printer can improve efficiency and reduce costs in offices and larger homes.
Prerequisites for configuring a network printer
Check network connectivity
Ensure the printer is properly connected to the network. Use the printer display to verify the network status and make sure the device you want to connect is on the same network.
Ensuring up-to-date drivers
Drivers allow the operating system to communicate with the printer. For best performance, use the latest printer drivers, typically available on the manufacturer’s website.
Check printer IP address
To add a printer manually, you need its IP address. It is usually visible in the printer’s Network Settings or the router’s management page. You can also ping the printer IP from Command Prompt to verify reachability.
Spooler service is running
The Print Spooler service manages the print queue in Windows. If it is stopped, adding a printer may fail.
- Press Win + R.
- Type services.msc.
- Find Print Spooler and ensure its status is Running.
- Right-click to Start or Restart if needed.
Automatic add of a network printer in Windows 11
If the printer is properly connected to the network, Windows 11 typically detects it automatically. Follow these steps:
Automatic addition steps
- Open Start and go to Settings.
- Choose Bluetooth & devices, then Printers & scanners.
- Click Add a printer or scanner.
- Wait for Windows to search for devices on the network.
- Select your printer from the list and click Add device.
- Windows may automatically download and install the appropriate driver.
- After installation, the printer should appear in Printers and be ready to use.
Adding a printer using IP address (manual)
If Windows 11 does not auto-detect the network printer, you can add it manually by entering its IP address. This method is often more stable, especially in enterprise networks.
Manual IP-based installation steps
- Open Settings.
- Navigate to Bluetooth & devices > Printers & scanners.
- Click Add a printer or scanner.
- After a moment, select The printer that I want isn’t listed.
- Choose Add a printer using a TCP/IP address or hostname and click Next.
- In Device type, select TCP/IP Device.
- Enter the printer’s IP address in Hostname or IP address.
- Enable Query the printer and automatically select the driver.
- Click Next and wait for Windows to identify the printer. If needed, install the appropriate driver.
Once finished, the printer will appear among devices.
Common IP-based installation warnings
Incorrect IP address
Even a single wrong digit prevents connection. Check the IP from the printer display or router page.
Printer lacks a fixed IP
If the printer uses DHCP, its IP may change. To avoid this, define a static IP for the printer.
Windows firewall or antivirus blocks the connection
Security settings can block network access. Temporarily review firewall settings if needed.
Incompatible driver
If you see Driver unavailable, install the latest Windows 11‑specific driver from the manufacturer’s site.
Troubleshooting printer discovery issues in Windows 11
If a network printer is not visible, the issue is usually related to network settings, Windows services, or firewall. Work through the steps in order to identify and resolve the problem.
Check if Network Discovery is enabled
Network Discovery must be enabled for Windows to find devices on the network.
How to enable
- Open Control Panel.
- Go to Network and Sharing Center.
- Click Change advanced sharing settings.
- Turn on network discovery and save changes.
Once enabled, try searching for the printer again.
Check Firewall settings
Windows Firewall or antivirus can block access to the network printer.
To check
- Open Windows Defender Firewall.
- Allow an app through firewall and ensure File and Printer Sharing is enabled.
Temporarily disable the firewall if needed to test connectivity.
Restart the Print Spooler service
The Print Spooler service manages the print queue. If it’s stopped or faulty, the printer may not be detected.
- Open Run and type services.msc.
- Find Print Spooler and restart it.
Test ping to printer IP
Open Command Prompt and run: ping 192.168.x.x (replace with the actual IP).
If replies are received, the network path is reachable; otherwise, the issue may be network or IP related.
Check Workgroup consistency
Within an internal network, devices should be in the same Workgroup.
Check by right‑clicking This PC → Properties → Advanced system settings → Computer Name and verify the Workgroup name.
Sharing a printer on the network (Windows 11) — step by step
Step 1: ensure the printer works on the host system
- Install the printer on the host computer.
- Take a test print to confirm the installation and driver are correct.
Step 2: enable Network Discovery and File & Printer Sharing
- Open Control Panel.
- Go to Network and Sharing Center.
- Click Change advanced sharing settings.
- Turn on network discovery and file & printer sharing for Private network.
- Save changes.
Step 3: share the printer from its settings
- Open Settings.
- Go to Bluetooth & devices → Printers & scanners.
- Select the printer and open Printer properties.
- Open the Sharing tab and enable Share this printer.
- Provide a simple share name (e.g., OfficePrinter).
- Apply → OK.
Step 4: grant access to users (if needed)
- In Printer properties → Security, add Everyone or specific users.
- Set permissions (Print, and optionally Manage documents).
Step 5: add the shared printer on other systems
Method A: via network path
- On the second system, press Win + R and enter
\ComputerName. - Double-click the shared printer to install.
Method B: via Settings
- Settings → Bluetooth & devices → Printers & scanners.
- Add device.
- If not found, The printer that I want isn’t listed.
- Choose Select a shared printer by name.
- Enter one of these: \ComputerName\OfficePrinter or \IP-Address\OfficePrinter.
Step 6: tips to prevent errors
- The host computer must be on; otherwise printing will fail.
- If you encounter access errors, check firewall (File and Printer Sharing) and ensure the network profile is Private, not Public.
- If drivers are not installed, install the Windows 11‑specific driver on the client.
FAQ
Can I use an old printer on the network?
Yes, but it may require specific drivers or manual configuration.
Can I use a network printer over Wi‑Fi?
Yes, many modern printers support wireless network connectivity.
How can I find the printer IP?
The IP address is usually visible in the printer’s network settings or on the router.
Why isn’t Windows detecting my network printer?
The issue may be network connectivity or outdated drivers; ensure all devices are on the same network.
Is using a network printer secure?
Yes, when using proper authentication and access controls to prevent unauthorized use.
How to share a network printer in Windows 11?
Go to Settings > Devices > Printers & scanners, select the printer, click Printer properties, go to Sharing, and enable Share this printer.
برای ارزیابی پایداری و امنیت این زیرساخت، راهنمای پشتیبانی شبکه را مطالعه کنید.