A Practical Guide to Setting Up a MikroTik Access Point
This guide explains prerequisites, security profiles, wireless configuration, and other key steps to turn a MikroTik router into a reliable wireless access point.
خلاصه تخصصی مقاله
This guide explains prerequisites, security profiles, wireless configuration, and other key steps to turn a MikroTik router into a reliable wireless access point.
موضوعات اصلی: wireless، access، security، router، MikroTik، Bridge
MikroTik devices are known for their versatility and strong hardware/software capabilities for wireless connectivity. This guide walks you through turning a MikroTik router into a reliable access point, covering prerequisites, security profiles, wireless mode configuration, and other key steps. Following the steps carefully helps prevent issues and improves network security.
Prerequisites and Required Equipment
- MikroTik Router model with an internal wireless card or support for a wireless module. Some MikroTik routers are delivered with the wireless feature enabled for access point use.
- Winbox software free MikroTik configuration tool. Obtain the latest version and install it on your PC.
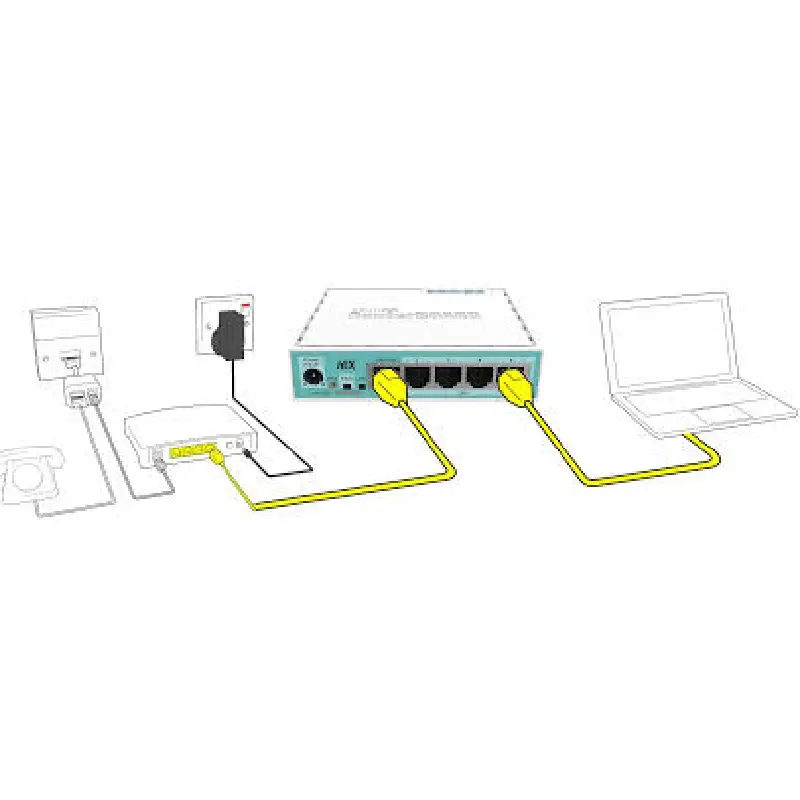
- Ethernet cable for direct connection between your computer and the MikroTik router to perform initial configuration via Winbox.
- Power supply ensure the router is powered on via its adapter and indicator LEDs show proper operation.
- Network information proper IP address for the internal network, client IP range, WAN/Internet connection details. If sharing internet over Wi‑Fi, knowledge of WAN settings is also required.
Creating a MikroTik Security Profile
Securing wireless communications is essential. MikroTik supports WPA and WPA2 and allows you to create a Security Profile tailored to your needs.
- Connect to Winbox Open Winbox and connect to your MikroTik device.
- Open Wireless section In the main menu, click Wireless. In the new window, go to the Security Profiles tab.
- Create a security profile Click the (+) button to create a new profile. In the Name field, enter a name for the security profile.
- Choose authentication methods In Authentication Types, select WPA-PSK and WPA2-PSK. Also enable CCMP to use AES encryption.
- Set the passphrase Use a strong passphrase for WPA and WPA2 PSKs.
- Save changes Click Apply and then OK.
This step adds a suitable security layer for your wireless network. Next, configure the router in access point mode and assign this Security Profile to it.
Configuring the Router in Access Point Mode
Now you should enable your MikroTik router as an access point. This changes the device from RouterOS default to a wireless mode that accepts client connections.
Mode
- Enable the wireless card In Wireless, go to Interfaces. Double-click the wireless interface (e.g., WLAN1) to open the settings page.
- Set AP Bridge Find the Mode field and set it to AP Bridge to make the router act as an access point for other wireless devices.
Band
- Select the band In Band, depending on the router capabilities and your needs, choose 2GHz B/G/N, 5GHz, or combinations. For most typical use, 2.4 GHz band (2GHz B/G/N) is suitable.
- Check client compatibility Ensure connected devices support the chosen band; otherwise clients won't see the network.
SSID
- Wireless network name In SSID, set the wireless network identifier shown to client devices.
- Be concise Choose a clear, descriptive SSID; avoid including sensitive information in the name.
Security Profile
- Attach security profile On this page, select the Security Profile you created earlier.
- Save changes Click Apply and then OK; the device now runs as an access point with WPA/WPA2 protection.
This step is the core of the access point setup. For clients to obtain IP addresses and access the internet, proceed with the next steps.
DHCP and IP Management
To automatically provide IP addresses to clients, configure DHCP.
- Open IP settings In the Winbox main menu, choose IP and then DHCP Server.
- Run DHCP Server At the top, select DHCP Setup and choose the wireless interface or Bridge as the target. Proceed with Next to see the IP range; if it matches the router's range, continue until the DHCP server is created.
- Check router address If needed, go to IP > Addresses to ensure the router has an IP in the desired range on the WLAN1 interface or the chosen interface.
- Configure gateway and DNS Finalize DHCP Setup by setting the Gateway and DNS server. Usually the router/modem address serves as the gateway. For DNS, you can use the router's internal DNS cache or a public DNS like 8.8.8.8.
After completing these steps, wireless devices connecting to your SSID will receive IPs automatically and the internal wireless network will be ready to provide services.
Create Bridge and Add LAN and WLAN Ports
In some scenarios you may want to place Ethernet LAN ports and wireless connections in a single LAN. You can achieve this with a Bridge.
- Create Bridge In the main Winbox menu, choose Bridge. In the Bridge tab, click +, name LAN-Bridge, then Apply and OK.
- Add ports to Bridge Go to the Ports tab. Click + to add a physical interface (e.g., Ether2). Set Interface to Ether2 and Bridge to LAN-Bridge. Apply and OK. Repeat for other ports (Ether3, Ether4, and even WLAN1).
- Internal network consistency Adding multiple ports to the Bridge places them in the same broadcast domain, so clients on wireless or LAN see each other in one network.
This section helps merge wireless and wired traffic. For example, if a server or printer is on Ethernet and you want wireless devices to access it, Bridge simplifies this.
NAT and Completing the Access Point Configuration
If your MikroTik is connected directly to the internet or via an upstream modem, you will need to NAT internal traffic to allow wireless clients to reach the internet using private addresses.
- Open Firewall Go to IP > Firewall and select the NAT tab.
- Create a new rule Click + to create a NAT rule. In Chain, select srcnat.
- Specify the LAN/WLAN range Optionally, enter Src. Address to NAT exactly that range. If you are NATting DHCP clients on WLAN1 or Bridge, use the same IP range.
- Set the internet exit interface In Out. Interface, choose the interface connected to the internet or WAN (e.g., Ether1).
- Masquerade action In Action, select Masquerade. Then Apply and OK.
With these changes saved, client private addresses are translated to the public address, and clients can access the internet. At this stage, the MikroTik access point setup is effectively complete and wireless devices can connect to the internet after obtaining IPs.
Final Summary
In summary, setting up a MikroTik access point provides convenient internet access and offers various security and management options. You can configure MAC filtering, QoS-based traffic shaping, and isolated guest networks via the MikroTik user interface. For evaluating stability, security, and maintenance of this infrastructure, also consult the network support guide.
برای ارزیابی پایداری، امنیت و نگهداری این زیرساخت، راهنمای پشتیبانی شبکه را نیز مطالعه کنید.